 Photographing at night means taking long exposures and capturing all our camera sees.
But we don’t have to take it any longer!
Wait, let me rephrase that. That doesn’t mean we don’t need to take long exposures to capture our expanded moments.
It just means we don’t have to accept everything the world happens to throw at us while our shutter remains open.
If we don’t want to record intermittent interference from extraneous light sources, we don’t have to. If we don’t want to capture the interplay of light trails streaming through our image, we don’t have to. And if we don’t want to include momentary lens flaring that comes our way, we don’t have to.
During a lengthy exposure, we can actually pick and choose from what we are given to design the expanded moment we desire.
We can anticipate the expected, or respond spontaneously to the unexpected. In either case, we must remain vigilant to exclude the wrong moments at the right time.
Selective editing gives us the opportunity to create a more distinct image of finer quality, something unseen in continuous time by our naked eye.
Editing during image capture is not the same as altering an image after the fact. It expands our potential for capturing images that cannot be created through image editing alone.
HOW TO : Selective Exposure
The goal is to shield our camera from unwanted repetitive or one-time intrusions of light by simply blocking and unblocking our lens during a long exposure.
- block your lens with a black card or clothe as needed
- make sure no light is shining on the card, or your camera will record that as well
- stay attentive to react quickly when the undesirable moments occur
- remember: effective exposure = total exposure – lens blocking time
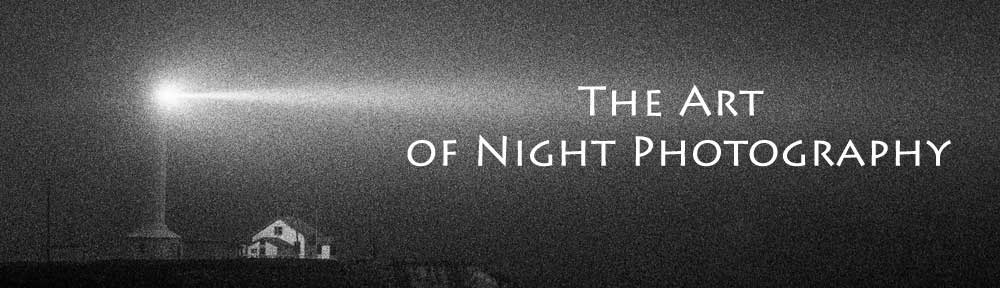
IMAGE : Point Arena Lighthouse, Point Arena, CA
- Mouse over the image above to view the scene without selective editing. If mouse over does not work, go to Selective Exposure on my blog.
The fog caught the light beam as it circled the lighthouse. I had to climb over two fences to reach my ideal vantage point near the edge of the cliffs overlooking the ocean below.
While I watched and waited during 1, 2, 4 and 8 minute exposures, I was blinded by the light beam every time it circled then faced me and my camera.
I decided to try one last exposure as a first time experiment. I visualized an image of the beam shining only out to sea, to the left. So I blocked the lens with a black card while the beam was shining at me and to the right. Success demanded my undivided attention.
The altered image was shot at f8 with TMAX 3200 film. The effective exposure was about two minutes, captured during a total exposure of around 6 minutes.
The unedited exposure was 2 minutes, also shot at f8 with TMAX 3200 film.
IMAGE TINT : GallerySeleniumGoldToner
In the darkroom, Selenium toning combined with Gold toning creates a purplish hue in the darker tones and a cool bluish gray tint in the highlights. The toning effect was selected to enhance the look of the light beam caught in the foggy night air.
This B&W image was toned in Adobe Photoshop with an ICC Profile I generated from my Mac App SuiteProfiler. The Profile was derived from the “GallerySeleniumGoldToner” Color Map created in SuiteProfiler.
Click these buttons to download the ICC Profile and SuiteProfiler Color Map:
![]()
![]()
EXERCISE : Selective Exposure
Find a nighttime scene affected by occasional, and undesirable, lighting changes.
Practice blocking the lens during an exposure to remove any unwanted lighting effects. Don’t forget to subtract the lens blocking time from your total exposure. That is, make sure your effective exposure does not include the time you spend blocking the lens.
For example, perform selective editing to remove lighting due to passing car headlights. Block your exposure before the car headlights shine on the scene. Unblock the lens once the car has passed.
Be sure to review the Safety & Precautions page.
FEEDBACK : Selective Exposure
Leave comments on this post to share your ideas and experience, or ask questions.
NEXT TIME : “Light Intensity”
Don’t miss my future posts!
Subscribe to The Art of Night Photography by Email.
Pingback: Supplemental Lighting | The Art of Night Photography
Pingback: Snowstorms | The Art of Night Photography